Skip to content
Lash Like A Pro: The Ideal Lash Setup
February 18, 2021 by The Lash Professional.
Your lash setup is everything when it comes to lashing like a pro. Let’s go over a couple of musts to be a pro in this industry!
Studio Lash Setup
The eyelash extension setup you have in your space is most important, especially when it comes to three things: Lighting, the comfort of your clients and storage in your space!
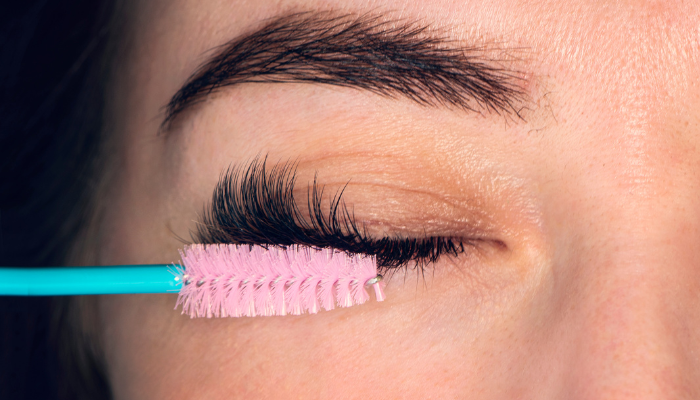
1. Lash Lighting Lash Setup Lighting
Lighting will be your BEST friend as a lash artist. For me, I wanted something that not only would allow me to see every aspect of my client’s lashes but would also be functional for photos. I shopped around, looking for something affordable while still being good quality… I found that the best fit for me was the Glamor Light. LOVE this light! It’s flexible allowing you to capture every angle of the lashes when applying extensions.
Read more about lighting here: Lash Extension Lighting Basics.
Lash Setup Comfort
2. Client Comfort
I tried out several pillows; I wanted something that was functional for me, while still providing neck support and cozy comfort to clients. The Lash Professionals Lash Pillow stole my heart and was definitely the coziest. Aside from the pillow, I went with a big fluffy blanket that I drape over the bed when not in use. Remember to coordinate these pieces with not only what is functional, but also what matches the design and decor of your space.
Oh and music…I always have music on. My go-to station is “Banks” on Pandora.
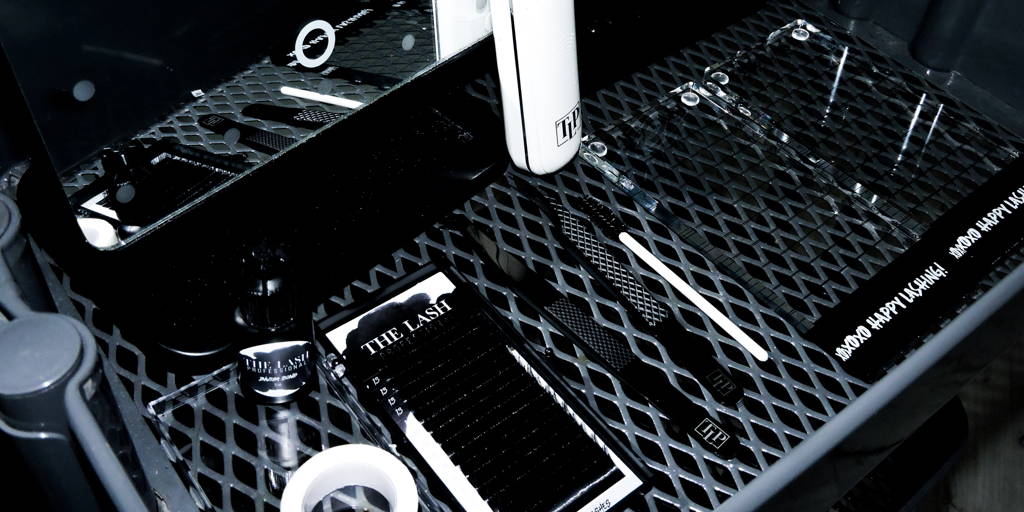
3. Lash Storage
Clear bins are the best place I’ve found to keep my inventory of lashes. I label them “volume” or “classic” and organize them by the curl, diameter and length. I recommend using a more shallow, wider bin to keep lash tiles categorized by the lash type. I keep these hidden away in a closed cabinet to avoid clutter.
However, I display retail products on decorative shelves. It is essential always to have products that will enhance your clients lash experience (not to mention the income potential that comes along with carrying/selling retail).
Appointment Lash Setup
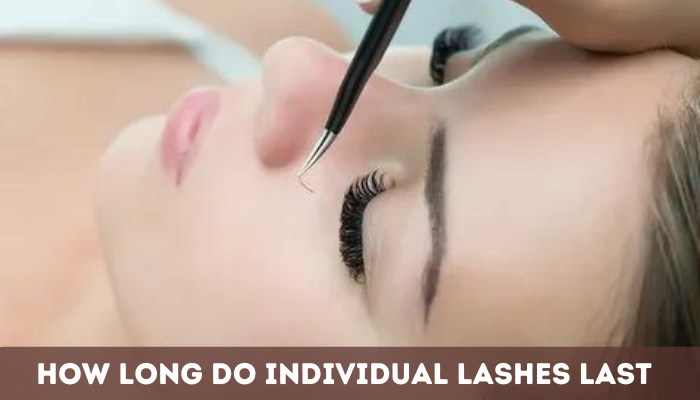
My appointment lash setup has evolved over the years, but this is what I find works best based on my experience. I have a rolling cart next to my lash bed for the supplies I will need during the service, including water (I get thirsty when lashing LoL). On the cart, I set up an extra set of eye pads. I like to use these to hold up the lashes for when I need to work on the bottom layer because eye pads are more gentle on the lashes than the tape. I always set my tweezers on the cart rather than the pillow to avoid them falling off the table and to keep clients from laying on them by accident.
On one side of the pillow, I set up pre-cut tape and eye pads, a lash brush, and two micro brushes. On the other, I have a crystal stone and lash tile. I always make sure the lash tile is full of lashes before I start my sessions.
I live in Arizona, where it gets hot and very humid due to the monsoon season. Because of the weather, I like to fan my client’s lashes every 5-10 minutes. This ensures the adhesive is drying and not sticking to multiple lashes.
I also use the Lash Nano Mister to cure those babies! If you are not using a Lash Nano Mister, girl, you NEED this in your life. Cut down your clients curing time of 24 hours down to 4! Say what?! This is a definite must for me.
Finally, I set my room’s temp a little cooler than average to accommodate the adhesive recommendations; this is when that big fluffy blanket comes in handy!
Lash Setup
I try to keep my lash setup simple while making sure I have everything I need.
Xoxo,
Nikki